
https://haffnewie.wixsite.com/originalsbyhi-d
I no longer post on this page. All future artwork will be posted at the link above.
Thank You,
hi-d
https://haffnewie.wixsite.com/originalsbyhi-d
I no longer post on this page. All future artwork will be posted at the link above.
Thank You,
hi-d
April 22, 2017 was my second art show at my house/studio. It was a beautiful day, blessed with a great attendance. Thank you to all my dear friends and family that helped me pull this off again! I appreciate you more than you can imagine.
And thank you to all who attended and helped make it another successful show! ❤


Three years after the passing of my precious Dad, and two years after the building of my art studio (with money he left me), I had my first art show!
It was held here at the house, in the driveway, the studio and on the back deck. The weather was perfect, we had a good turn out, and I sold several paintings. All in all, a success!
A big thank you to my wonderful friends and family that helped put this on.
Dad would have loved it.
Looking forward to doing it again next year!
hi-d

")
")


")


")
")


")


")
")


")

")


")
")
")


Thank you Alice for your kind comments. Explaining what I’ve done is not my strong suit, so bear with me. I will do my best. Do not hesitate to ask more questions, or if you think I’ve left something out…please let me know. I “do” better than I “explain”!
First of all I searched for a large round vase. I think I found this one at Michael’s. It was either there, or Hobby Lobby. It is about 12 inches in diameter. The opening is about 9 inches in diameter.

Next I wanted to find a piece of wood that I could fit into the bottom of the round vase. This one is about 6 1/2 inches in diameter. Anything will work really, but I knew I wanted to drill a hole for the fake tree to go into. So, I thought wood would be easiest.

Find a little fake tree, some plastic deer, and whatever else you want that looks like it’s out in the woods. I used what I had, but there are some real cute things out there that would work. I did touch up the deer’s eyes a little.

Now, you will want to pray the tree, the deer, and whatever else you are going to adhere to your base, with a sealant. An indoor outdoor kind, that help them stand up to being submerged in water.

You will secure the tree into the middle of your base. I drilled a hole then glued it in with E600 glue. Any waterproof glue will work. I then built up around the base of the tree with hot glue. I wanted a mound of snow under the tree. You don’t have to have it that way, and some trees even come with a little mound base already on it. Then you would glue that down to the base – and there is no need to drill.

Next, I painted the base with several coats of acrylic craft paint. The very bottom I wanted black, to simulate the black base of a snow globe. The top of the wood I painted white to simulate snow. On the last coat of white paint I sprinkled a fine glitter onto the wet paint. Let it dry real well, then coated the entire base with a good waterproof sealant. I use a brush on type for this part. (But you may be fine using the same spray kind as you sprayed the animals and tree with.) Several coats are needed. But be sure to let it dry good in-between. Also, remember that you are going to have to coat the bottom of this base as well.
(My tree already had some snow on it, but if it hadn’t, I would have painted some white on before I spray sealed it.)
Now, glue your animals on. I don’t remember what I used, but I am guessing E600. Nasty stuff, but it works good! If you have any glue that glooped out from the deer hooves or anything, just sprinkle some of the glitter on it.
I wanted something in the space above the little woodland scene. It is a big vase, and there was a lot of space up there, so I made this owl out of sculpy clay. I painted him, then sealed him many times as well.


Now, for assembly. Once your base scene is completely done, and has dried for several days, you are ready to assemble the globe.

Warning…this becomes VERY heavy. You will not want this on a flimsy table, or anywhere that would put little ones in danger of it coming over on them. Also, you do not want to add the water to this until you have it where you are going to use it. You will NOT want to move it once it is filled with water.
After putting the base scene into the bottom of the vase, start adding these little babies. They are found in the floral section of most craft stores. They are called different things based on the brand, but essentially they are jelly like balls that seem to disappear when you add water to them. They are all still there… you just can’t see them well.


Oh…and it takes A LOT. A whole LOT. I made several trips back to the store. But you also need to know this (and hopefully save you some frustration). They kind of grow a little bit. In other words… wait before you add the balls clear up to the top. I would say fill the vase 3/4 of the way full of balls. Add your water, then after several hours, if you need more little gel balls you can add more.
Now you can add the glitter! Get the larger flaked kind. It will show up better and also catch on the balls easier. Mine is clear or white looking. I think any would work, and am very curious in fact, at how silver or the multi colored ones would look. I used a clean ruler or kitchen utensil handle to move the glitter around a bit if needed. But once you have the glitter suspended to your liking, you can move on to the lights.
I added my owl here. He looks like he is really flying since you cannot see how he is attached to anything!
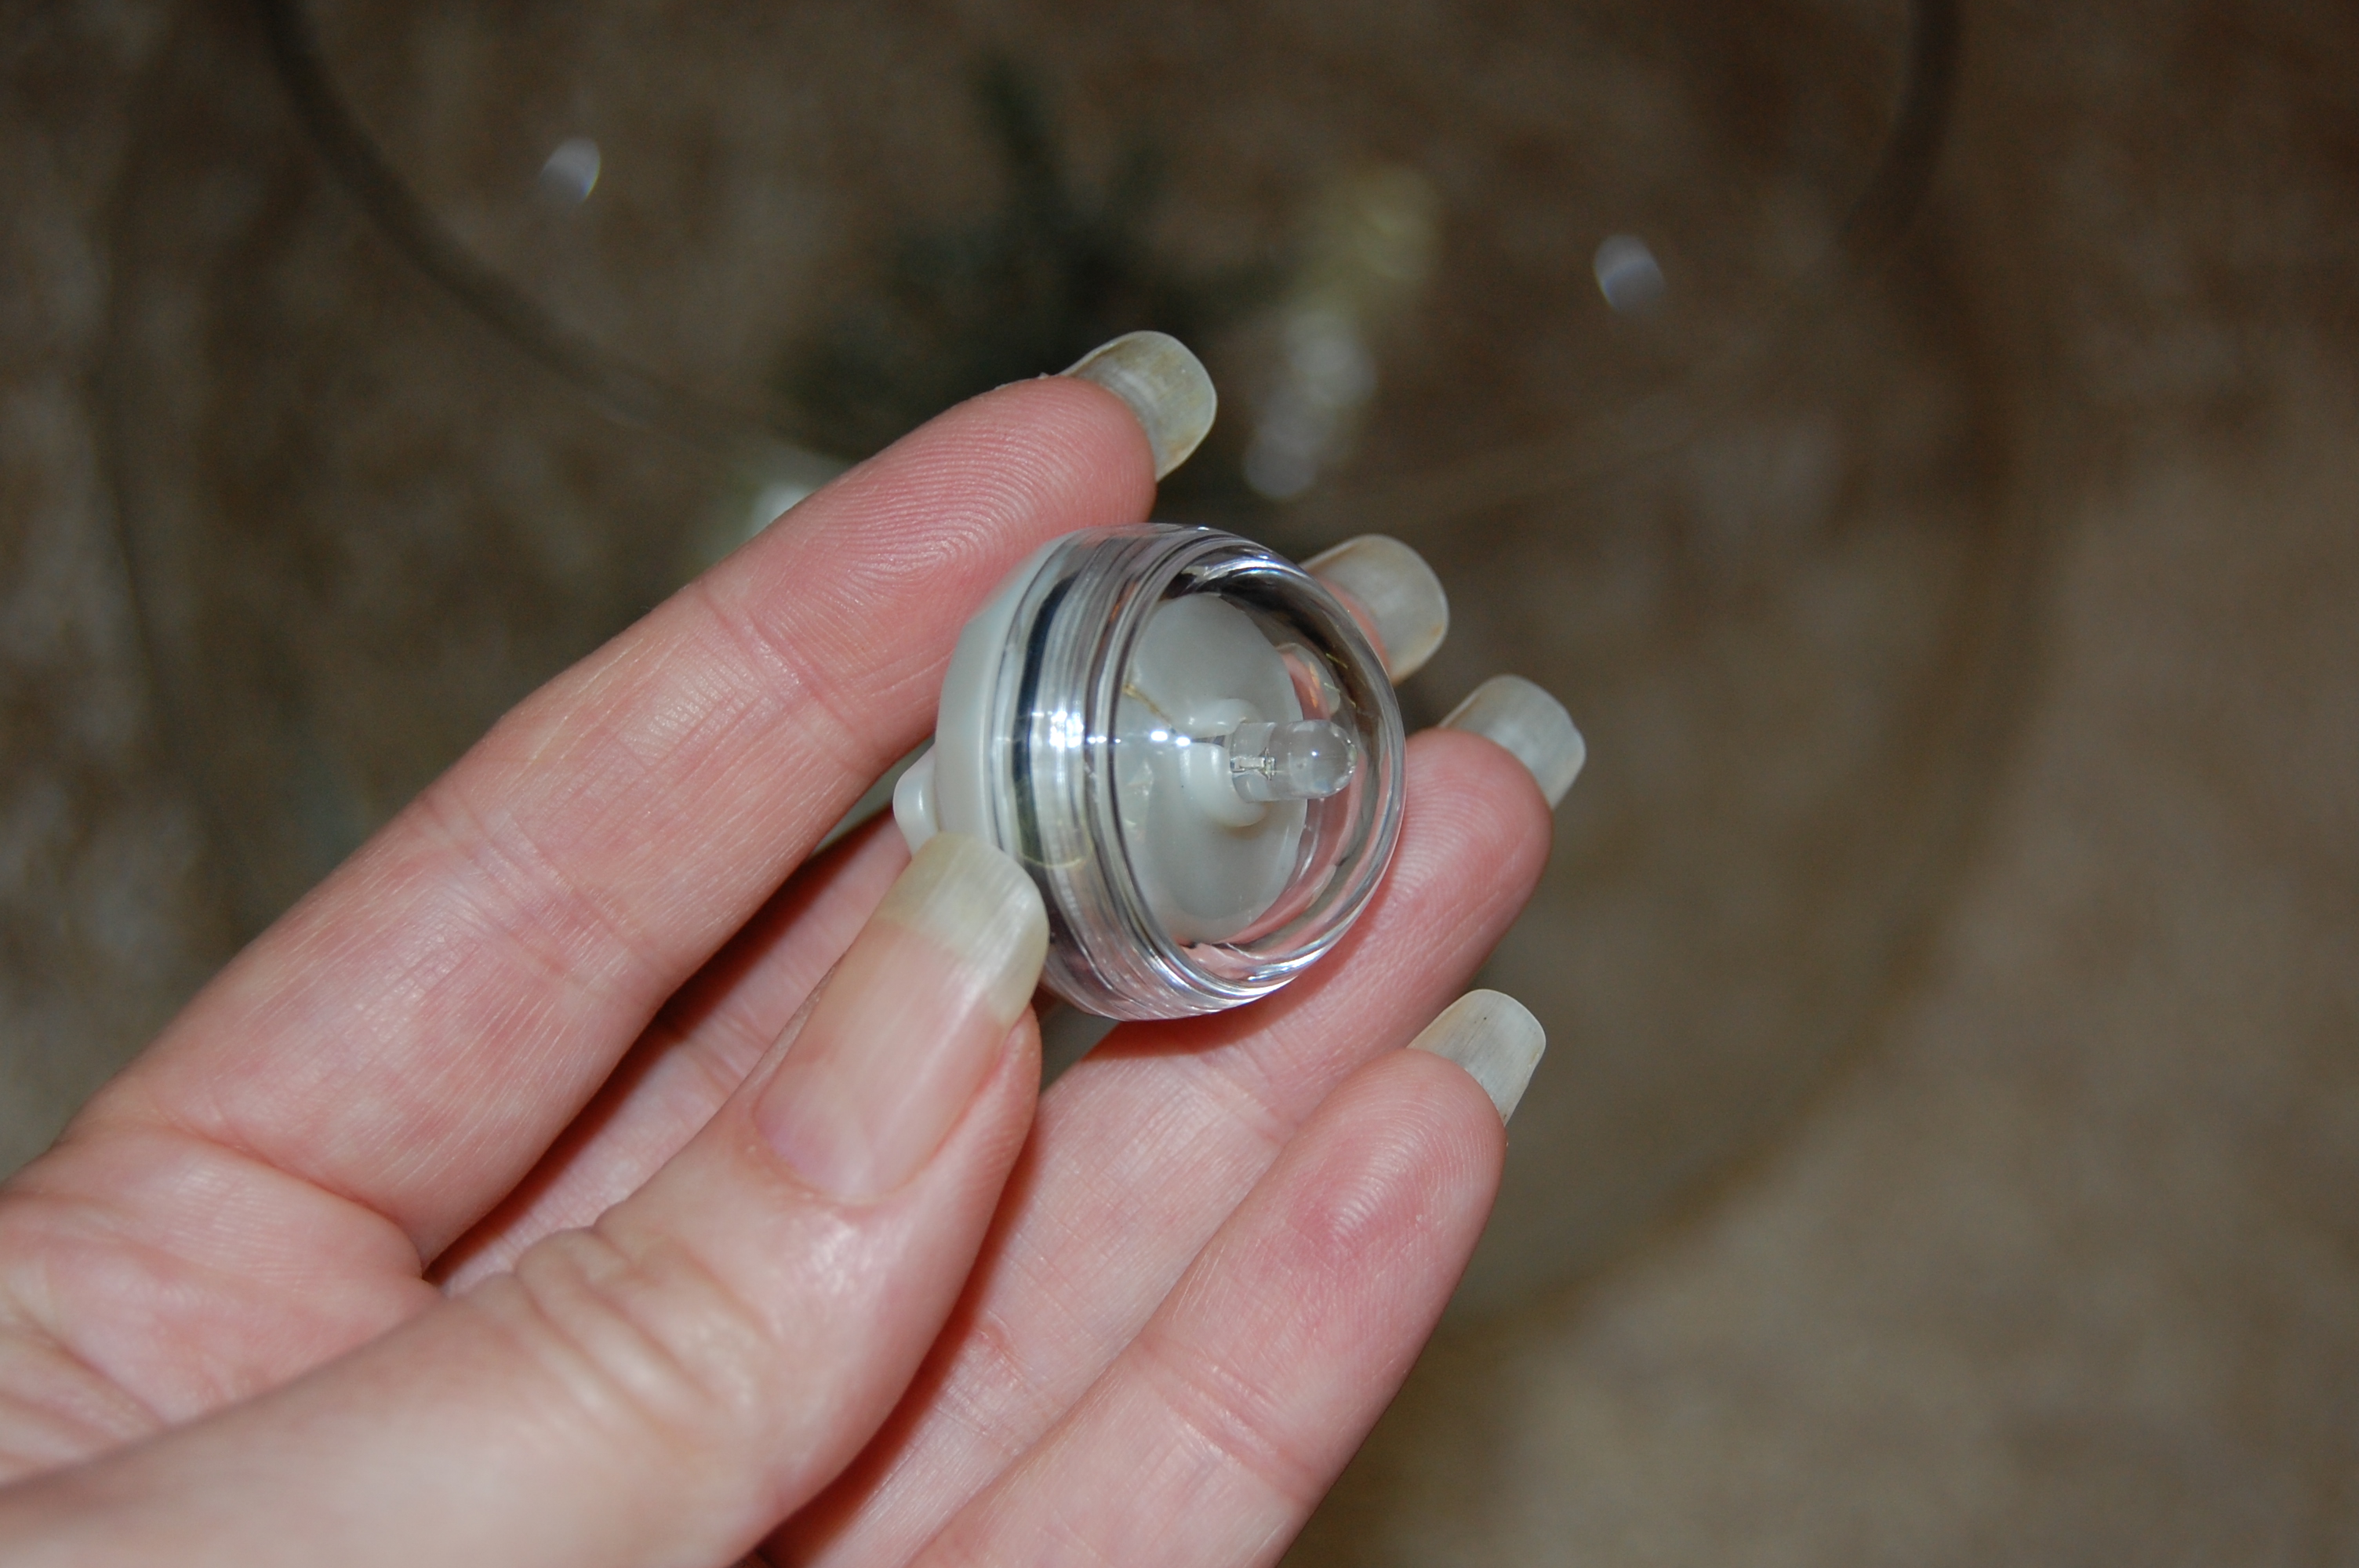
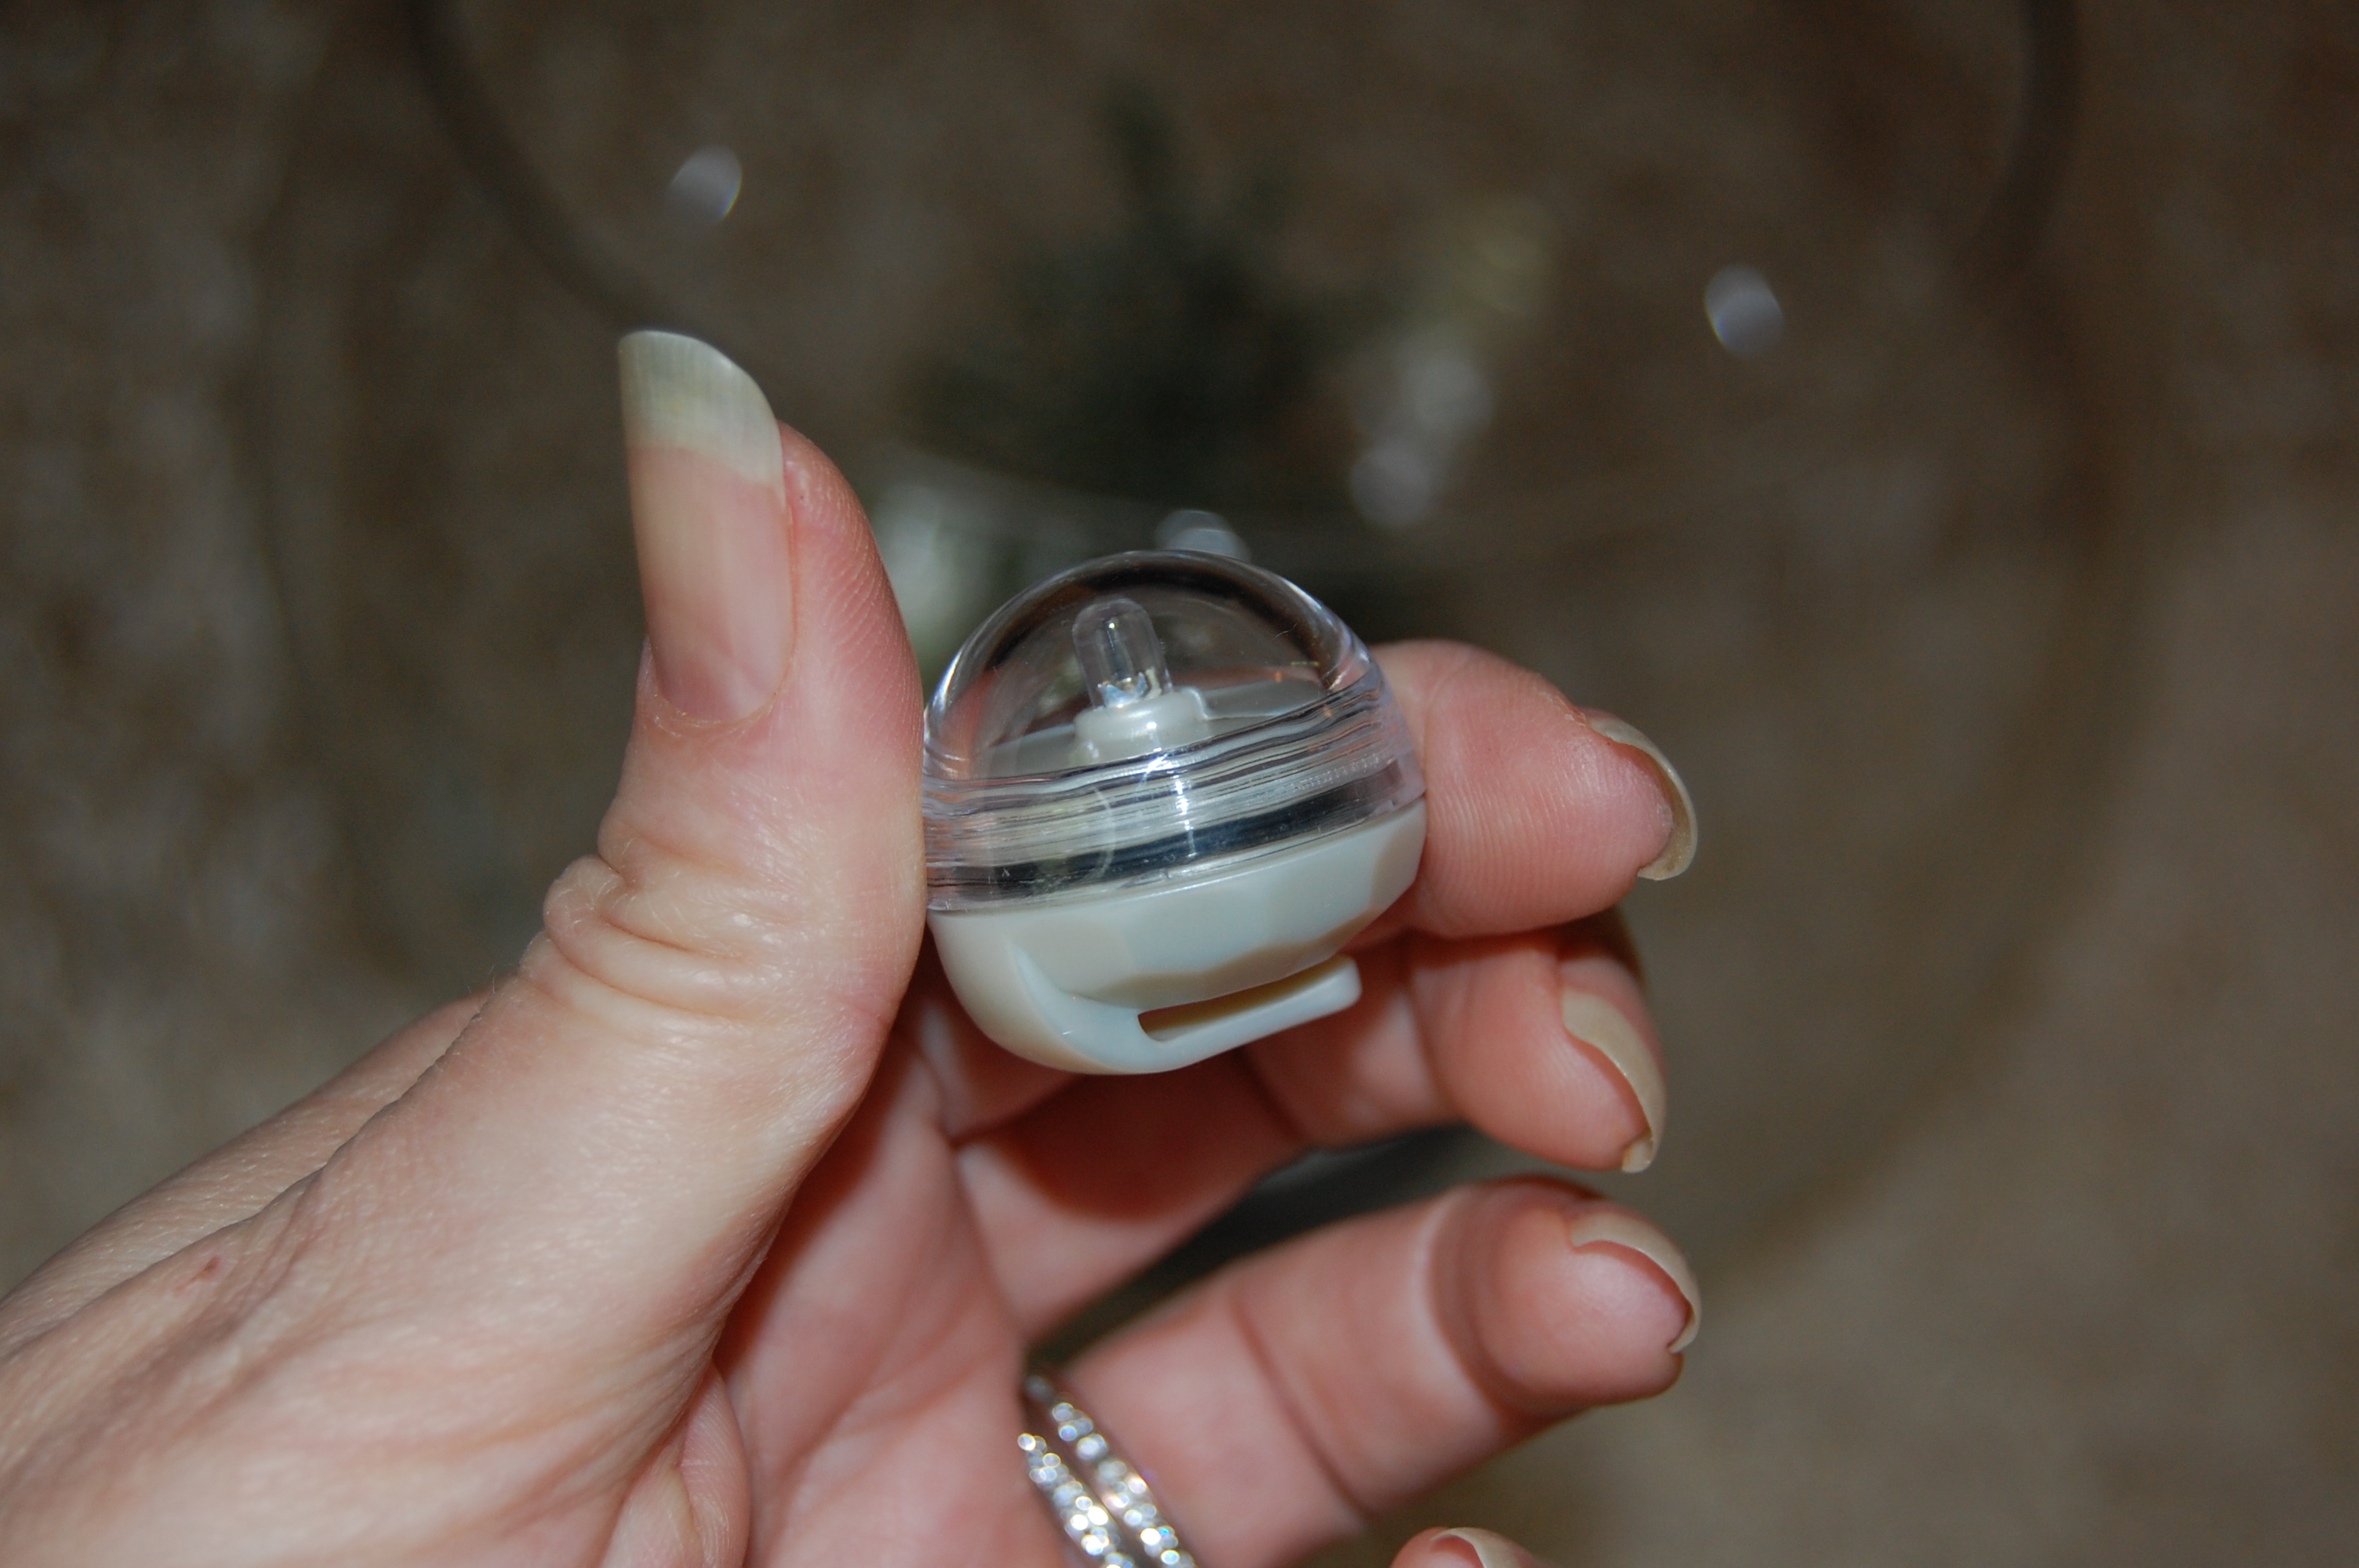
These lights are also found in the floral department. They are submersible lights, and have a little clip like feature on the back of them. Since I wanted the lights to shine down from the top of my globe, and not have them sink to the bottom, I cut some clear plastic strips from a clam-shell type package and slipped them onto the lights clip deal. Then when I placed them on top of the gel balls, they stayed on the surface… facing down.
I put a nice piece of blue material all around the globe to give it a more “wintery” effect.

It is a bit distorted when looking into the finished globe, but you can still make everything out just fine, and seeing the glitter suspended “in the air” just gave me a thrill! This is much more wonderful in person than in pictures.

Good luck to you! And I would love to hear about how yours turned out. Pictures even!!
hi-d
This summer, one of my goals was to do something creative everyday. As summer comes to a close, I can look back and say that I did pretty good on that goal. Some days it may have been only creating a dinner that would satisfy three teenage boys… but that’s okay. I did get out to the studio almost every day.
I get to play for a few more days before school starts, and then I am back to work. I’m trying to come up with a schedule that will still allow me several hours a week (at least) in the studio, so I am not crying about it. Feeling optimistic that I can balance the two.
What about the rest of you? How do you make sure you get your creative time into your busy schedule? Would love to hear some of your ideas.
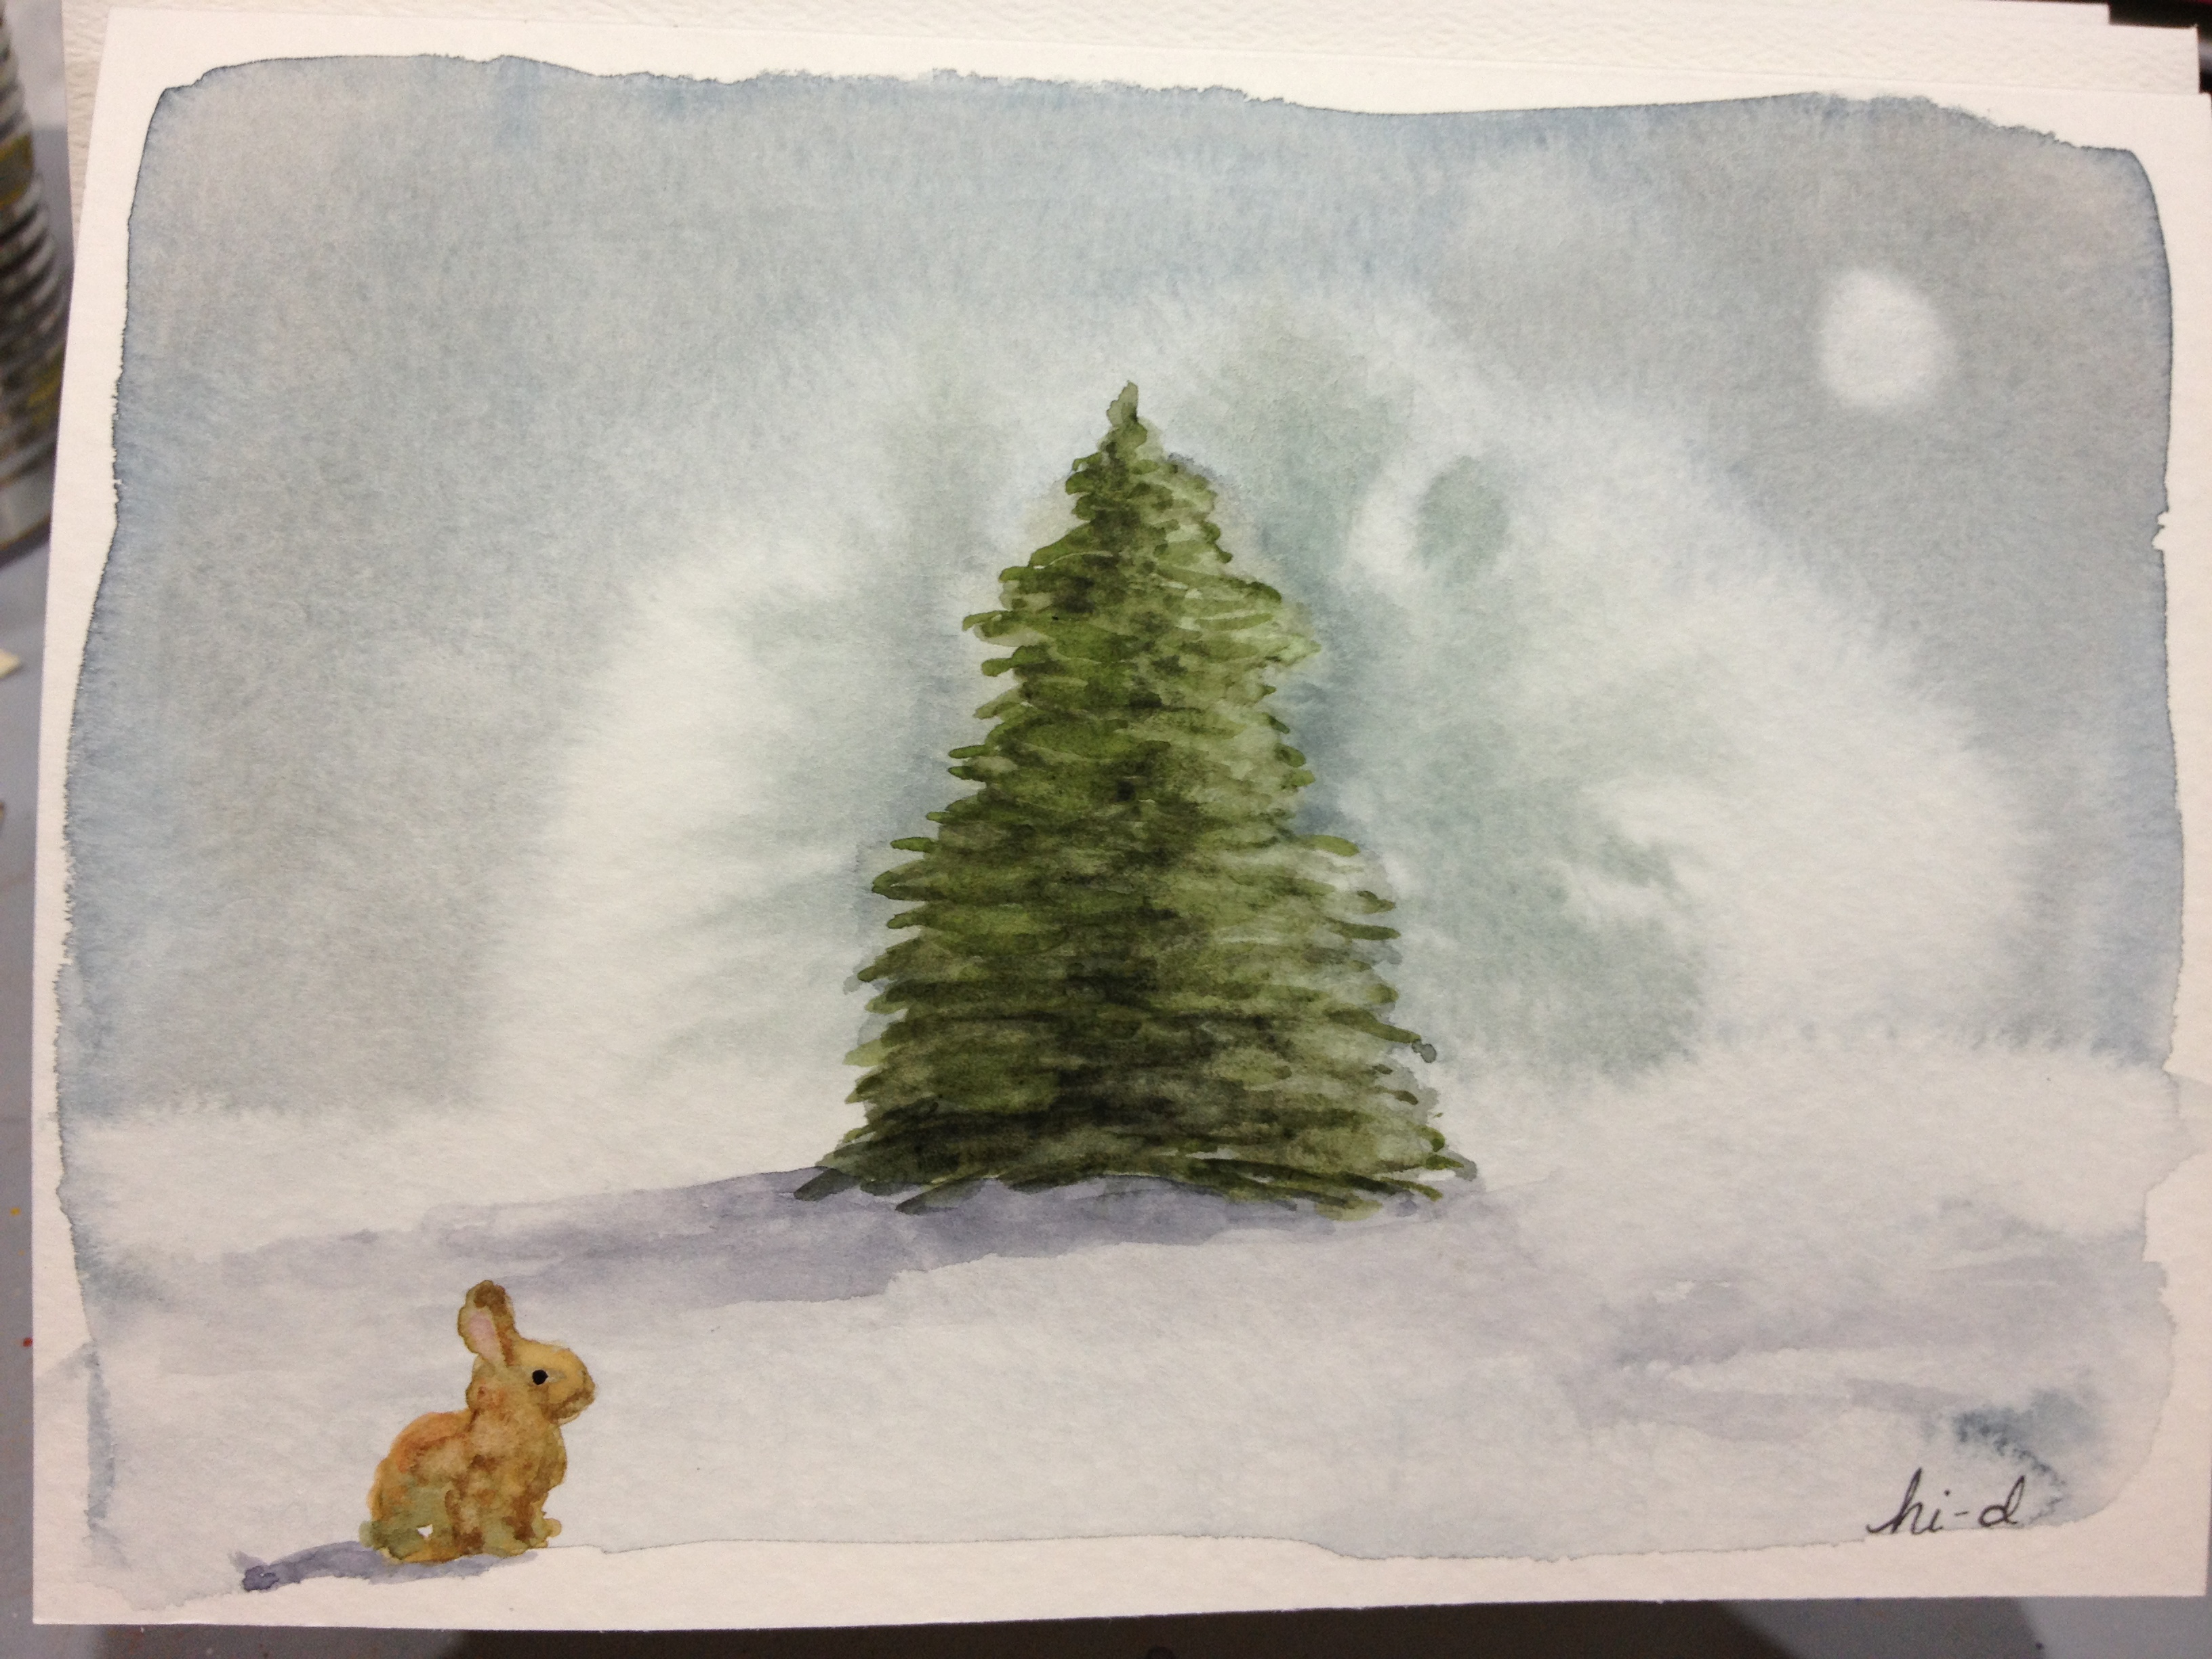
Here are some greeting cards I painted this week. Playing around with different watercolor techniques and colors.
Don’t forget to play!
hi-d


I do hope you can take some time to look around at my work. You can go to the different pages by clicking on the tabs above. You can see most of the photos a bit larger by clicking on the photo itself and then hitting the back button when you are done. Please leave me a comment or question if you’d like.
I will be posting some how-to’s or the process I took on a project here at the home page. And I will try to remember to post newly added artwork on this home page before I add them to their permanent pages in the tabs above.
Stay tuned!
hi-d
